

Bicycle Rack Safety and Space-Smart Storage
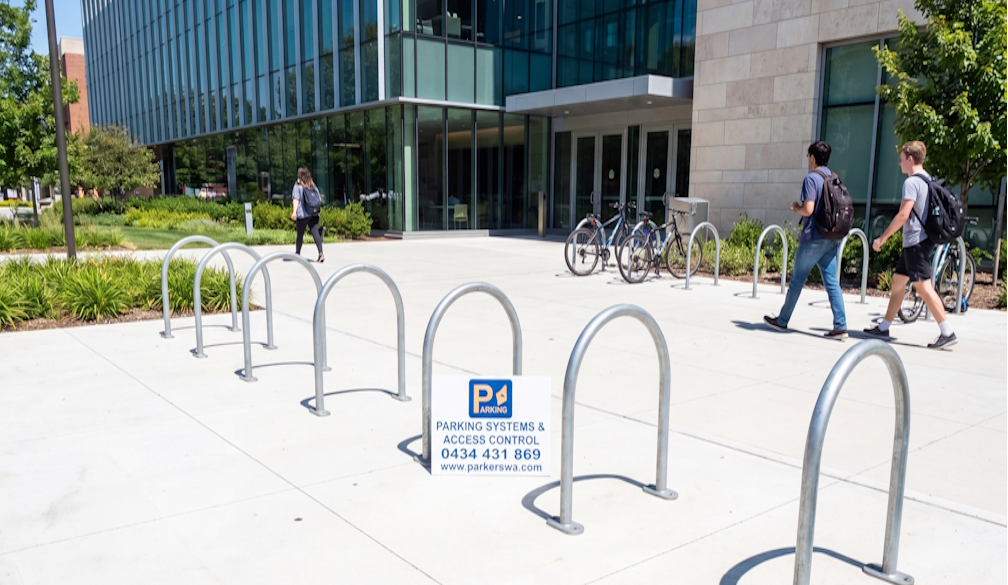
Bike storage problems usually show up as small annoyances first: tangled handlebars, scratched frames, and bikes that topple when you pull one out. Over time, those issues become safety risks, especially in family garages, apartment basements, workplaces and schools. A well-chosen rack improves flow and reduces damage, but only if the design matches your space and the bikes you actually own.
When evaluating options, it can help to compare reputable examples of Durable bicycle racks so you can spot the difference between a stable, well-braced system and a rack that relies on light brackets or tight spacing.
Measure the space the way bikes really sit
Most people measure the wall length and stop there. The better approach is to measure how bikes occupy three dimensions:
- Handlebar width and overlap: Bars often conflict before tyres do.
- Pedal and crank clearance: Pedals can catch on adjacent frames.
- Front wheel swing: When you lift or roll a bike into place, it needs room.
In narrow garages common in Australian suburbs, these details decide whether a rack feels effortless or constantly cramped.
Choose a rack style that matches daily habits
The “best” rack is the one that suits how people use bikes in real life:
- Freestanding racks: Good for renters or flexible layouts, but check base stability and weight distribution.
- Wall-mounted racks: Excellent for freeing floor space, provided the wall structure is suitable.
- Floor-mounted rails: Ideal for multiple bikes in shared settings with predictable parking positions.
If kids will be using the rack, lower lift heights and intuitive placement matter more than maximum capacity.
Loading order and bike mix: plan for the awkward one
Most households have at least one bike that breaks the pattern: a step-through frame, a child’s bike, a fat-tyre MTB, or an e-bike. Plan the layout around that bike first, then fill in the others. Helpful tactics include:
- Allocating end positions to wider handlebars
- Placing heavier bikes in the easiest-access spot
- Avoiding tight spacing where derailleur hangers or disc rotors might be knocked
A rack that “fits” becomes a rack that works when the mix is considered up front.
Wall strength and fixings are part of the rack system
In many Australian homes, garage walls may be brick, block, or framed plasterboard. Each needs different fixings and expectations.
- Brick/block: Use anchors designed for masonry and confirm the condition of the substrate.
- Stud walls: Fix into studs or structural noggins, not just wall lining.
- Older garages: Check for crumbling mortar, water damage, or movement.
If you’re unsure, the safest approach is to treat mounting as a structural task rather than a simple DIY step.
Reduce frame damage with smarter contact points
Scratches and dents often come from repeated rubbing at the same points. Look for designs that:
- Support bikes by tyres or strong frame sections
- Use protective sleeves or pads where contact occurs
- Prevent bikes from leaning into each other
This is particularly relevant for carbon frames and e-bikes with bulky down tubes, where contact pressure can be concentrated.
Make the rack easy to keep tidy
Even a robust rack becomes frustrating if it encourages clutter. Small design details help:
- Clear lanes for rolling bikes in and out
- Space for helmets and pumps away from parking positions
- A layout that doesn’t require moving three bikes to access one
In workplaces or strata storage rooms, ease of use is what keeps the system orderly long after installation.
Simple checks that prevent accidents in shared areas
Where multiple people use the same rack, routine checks are a practical safety measure:
- Tighten fixings periodically, especially after heavy use
- Replace worn pads, straps or cracked plastic parts
- Confirm bikes sit fully in rails or supports before walking away
A rack should make parking safer and faster, not introduce new points of failure.


 Daily Bulletin


